

QuickBooks Online
Otto Capture connects to QuickBooks Online so you can publish bills and supplier credits straight into your client’s QuickBooks Online company. This page covers the QuickBooks Online specifics. For the parts that work the same on every platform, see Connecting your accounting platform.
Connecting a client
Section titled “Connecting a client”Each client in Capture connects to a single QuickBooks Online company. There’s no practice-level connection, so you connect each client’s company separately.
-
From the Clients page in Capture, click Add client, then choose QuickBooks
-
Sign in to QuickBooks Online and choose the company you want to connect
-
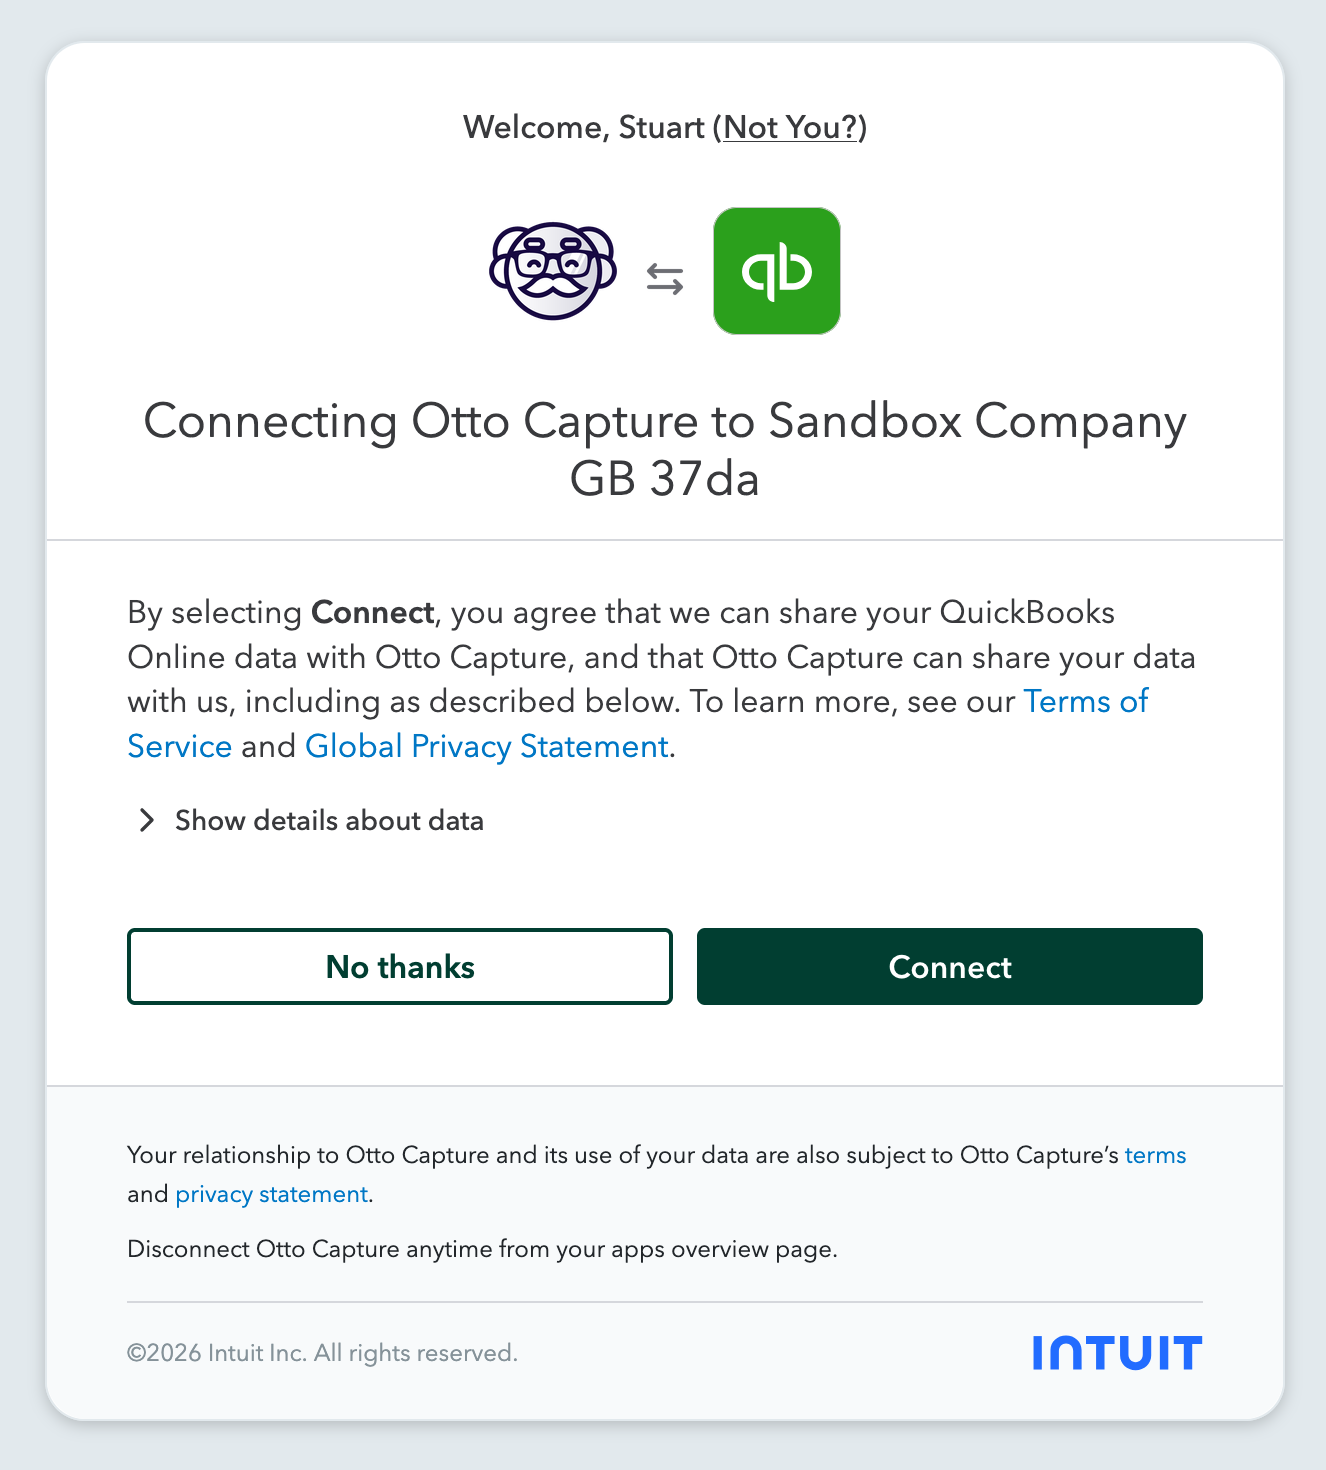
Check the company named on the authorisation screen, then click Connect
-
You’ll be redirected back to Capture, and Capture starts syncing straight away. Complete setup for the client to start publishing
Permissions
Section titled “Permissions”Capture asks for access to the company’s accounting data. It uses that access to read the reference data listed below, create suppliers, create bills and supplier credits, and attach the original documents to them. It doesn’t ask to sign you in to Capture with your Intuit account.
Synced data
Section titled “Synced data”| Data | Purpose |
|---|---|
| Suppliers | Match the supplier on each document |
| Customers | Not used on documents. Synced so Capture knows which names are already taken (see Contacts) |
| Chart of accounts | Fill the Category options on each line. Where the company uses account numbers, each option shows the number first. System accounts such as accounts payable and VAT control are left out |
| VAT codes | Apply the correct VAT treatment to each line |
| Currencies | Set the document currency. With multi-currency off, only the home currency is available |
| Classes | Assign a class to each line, where the company tracks classes on each line (see Classes) |
| Company details | Home currency, whether the company charges VAT, and its country |
Publishing
Section titled “Publishing”Otto publishes purchases to QuickBooks Online:
- Bills: he creates these as QuickBooks Online bills
- Purchase credit notes: he creates these as supplier credits, which is the name you’ll see in the document type picker for these clients
Capture doesn’t publish sales invoices or sales credit notes to QuickBooks Online. If Otto reads a document as a sales invoice or credit note, Capture marks it Triage failed with a message saying so. If Otto got the type wrong, change it to bill or supplier credit on the review screen and Otto carries on from there.
QuickBooks Online has no publish state to choose, so there’s no default to set for these clients.
Otto sends the VAT figures from the document, so QuickBooks Online records the VAT the supplier actually charged. Where QuickBooks Online would work out the VAT itself and reach a different figure, Otto doesn’t publish. The review screen names the line and says how to fix it. For example:
- A line has no VAT amount. Enter the VAT, or 0 if there is none.
- The VAT code’s rates haven’t synced yet. Refresh tax rates, then publish.
- The VAT code has more than one rate. Remove the VAT amount, choose a different code, or change the VAT to the figure QuickBooks Online will record.
Currencies
Section titled “Currencies”What you can do with a foreign currency document depends on whether the company has multi-currency turned on.
| The company | What Otto offers on a foreign document |
|---|---|
| Has multi-currency on | Publish in the document currency. If that currency isn’t set up in QuickBooks Online yet, you can add it during review, or convert the amounts instead |
| Has multi-currency off | Only the home currency is available, so convert the amounts before publishing |
QuickBooks Online uses the exchange rate from the company’s own rate table for the document’s issue date. A supplier’s currency can’t be changed once it’s set, so add a supplier set up in a different currency again under a different name. See Currency and conversion for how the converter works.
Classes
Section titled “Classes”Capture syncs classes only where the company tracks classes on each line. If it tracks them on the whole transaction instead, no classes sync and the review screen doesn’t offer a class selector.
Where classes do sync, the selector on each line is headed Classes. If a class has been removed from QuickBooks Online since you chose it, refresh classes and choose another before publishing.
Contacts
Section titled “Contacts”QuickBooks Online keeps suppliers and customers as separate lists, and Otto publishes to suppliers only. A customer can’t be the supplier on a document, and the review screen asks you to choose a supplier instead.
A name can only be used once across suppliers, customers, and employees in QuickBooks Online. If you create a supplier during review whose name is already taken, Capture asks for a different Name in QuickBooks. The contact keeps the name on the document in Capture, so Otto still recognises it.
Attachments
Section titled “Attachments”Otto attaches the original document to both bills and supplier credits, up to 20 MB per file, in PDF, JPEG, PNG, GIF, TIFF, DOC, DOCX, XLS, XLSX, or ODS format. He attaches a document in another format, such as a HEIC photo or an HTML email, as the PDF or image Capture made from it.
Disconnecting and reconnecting
Section titled “Disconnecting and reconnecting”See Connecting your accounting platform for the four connection statuses. Three things are specific to QuickBooks Online:
- Disconnecting in Capture revokes Otto’s access in QuickBooks Online too. If that step fails, Capture tells you, and you can remove Otto Capture from inside QuickBooks Online.
- Capture mirrors a revocation made in QuickBooks Online. Capture checks each connection once a day, so if access is removed inside QuickBooks Online the client moves to Disconnected.
- A lost connection stops publishing. If a publish reaches a connection that no longer works, the client moves to Connection failed and the document asks you to reconnect, then publish again.
Disconnecting deletes the data synced from QuickBooks Online and the supplier matches Otto has learned for the client. See Disconnecting and reconnecting for what is kept. To reconnect, open the client settings and click Reconnect to QuickBooks.